
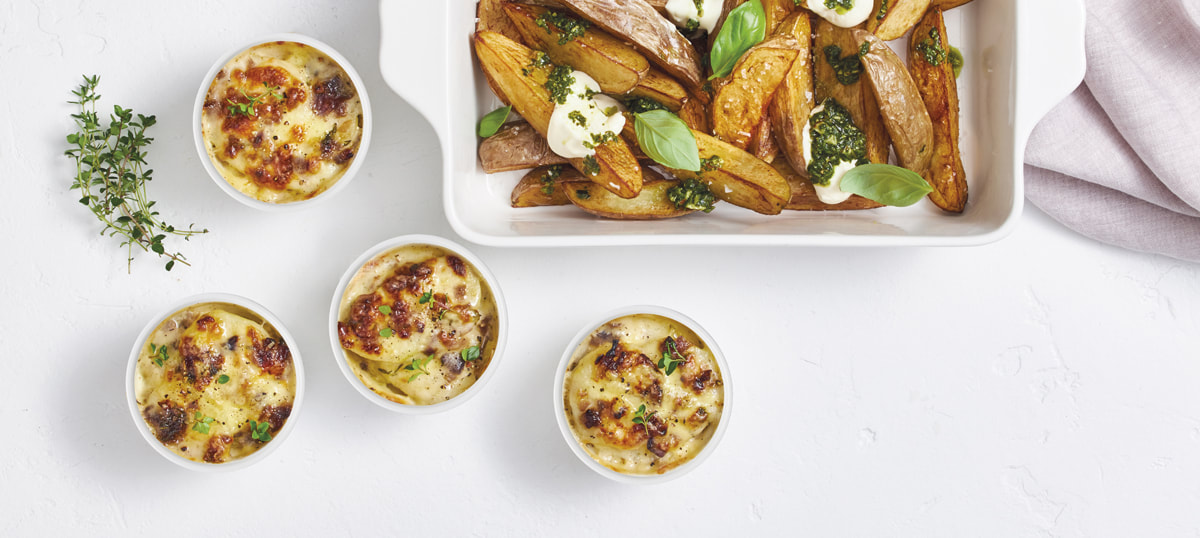
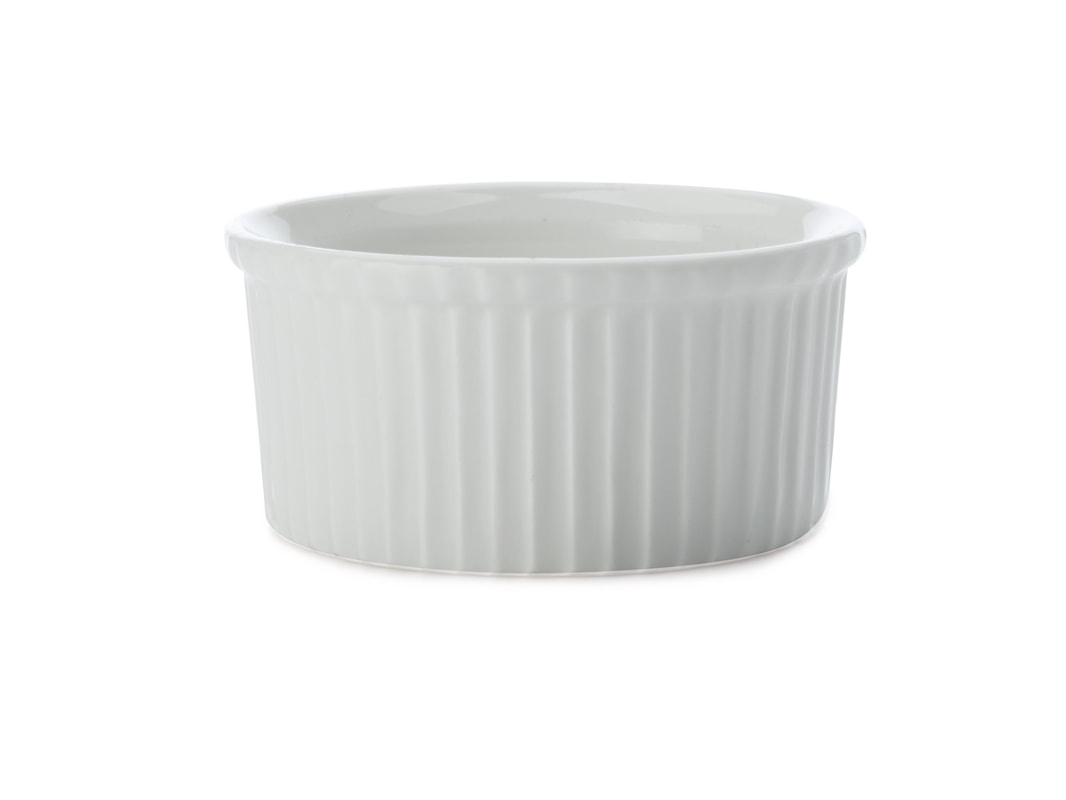
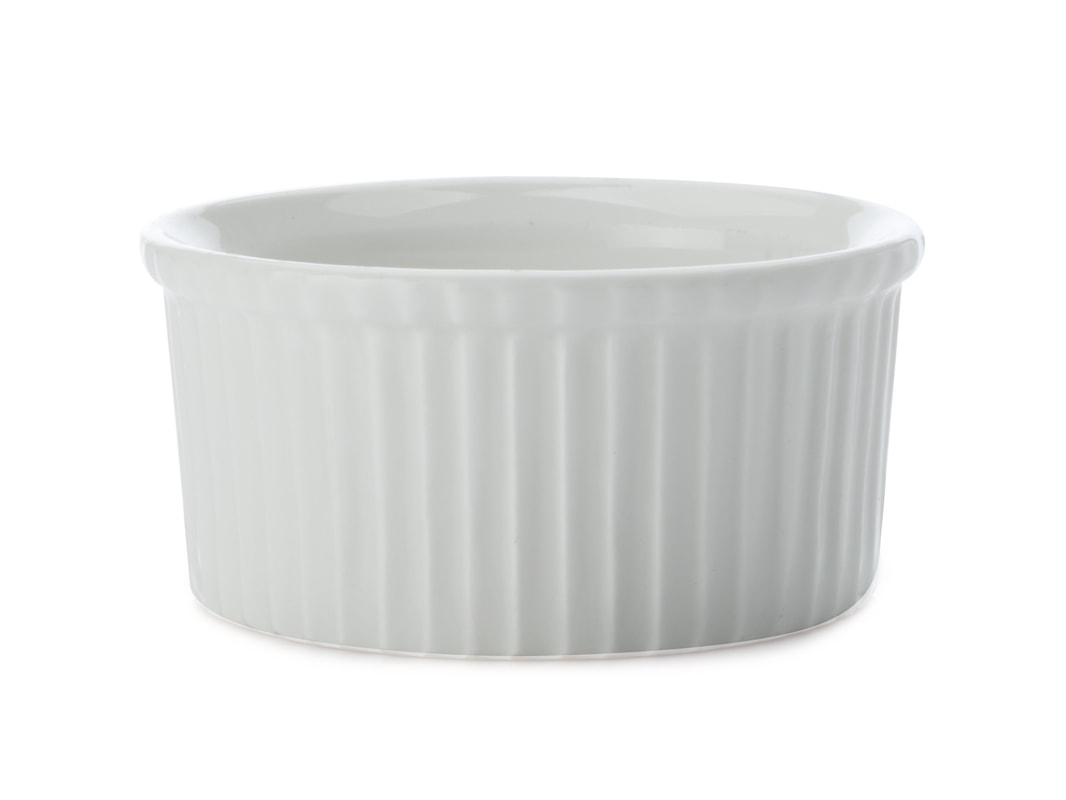
 Ramekin's, porcelain cooking and tableware dishes are safe for use in the oven and microwave, make the perfect oven to table accessory offeringr a personalized touch to your soiree. As an M&W staple for over 20 years, these little dishes are perfect for individualizing parts of your meal, while adding beautiful visual interest to your table. Looking for ideas to get more use out of your ramekins? You can adapt your favourite recipes! Try out our Potato Bakes recipe below!
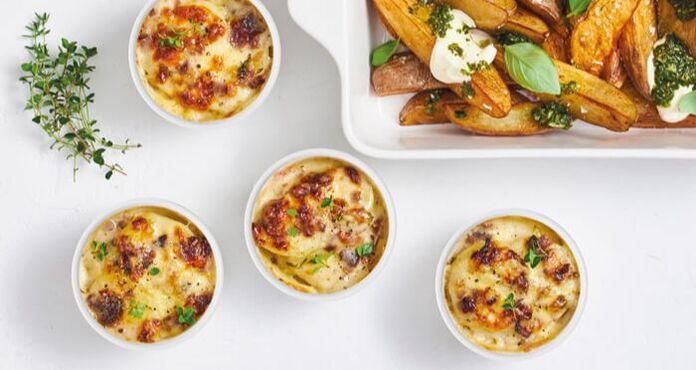 Potato BakesPrep Time: 20mins
Cook Time: 60mins Serves: 6-12 (dependent on size of your ramekins) Ingredients:
3 Comments
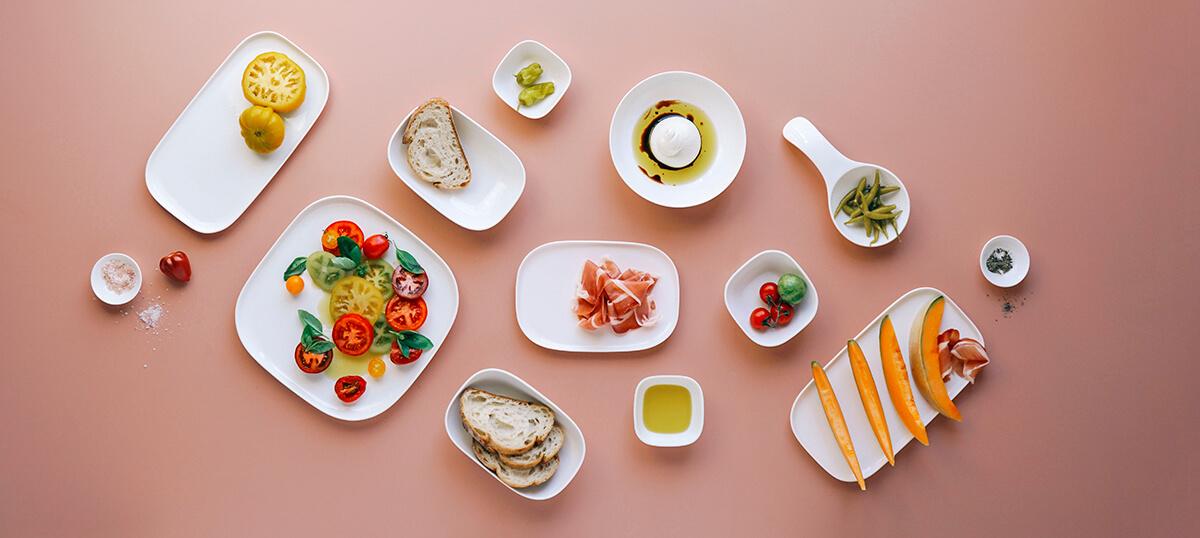 The grazing trend is here to stay! Intimidated by the ornate tables and boards where everything is perfectly aligned and layered? Try this instead! Pair White Basics dishes and serveware, a little patience and some Tetris-style maneuvering to create a drool worthy grazing table fit for any event! Adorn your White Basics with easy to serve foods with assorted textures and you are sure to have a well fed crowd. Cured meats, assorted cheese, nuts, fruit and veggies always make for a great display. Looking for something different? Try a deconstructed Cobb salad with all the fixings; bacon, mushrooms, hard boiled eggs, tomatoes, radishes, avocados, onion, chives, feta cheese, lemon slices and chopped greens. Can you picture it? The ideas are endless when creating your own, one of a kind, grazing table.
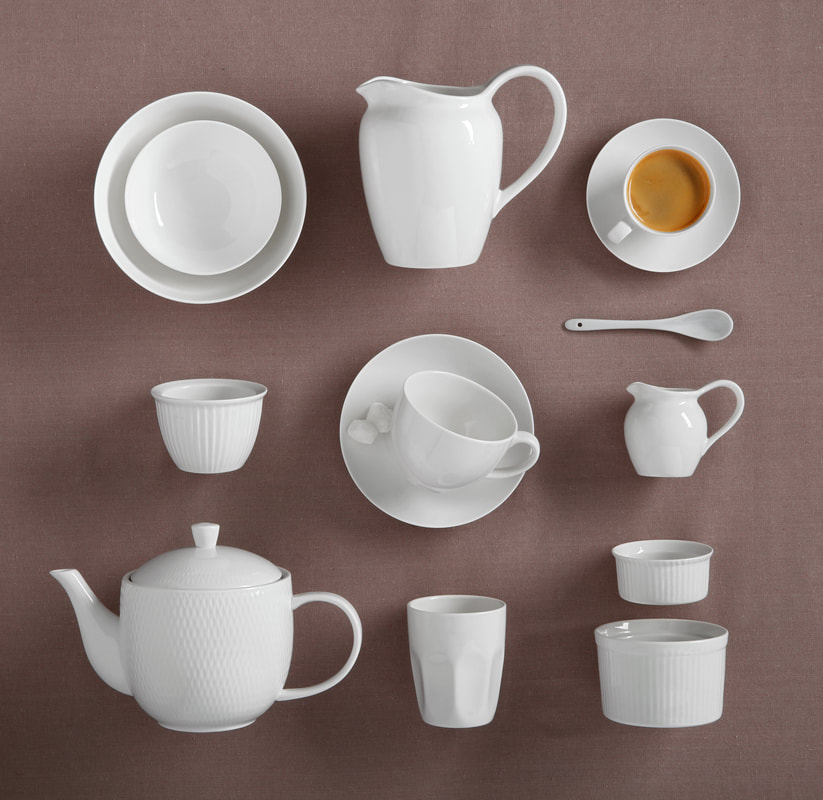
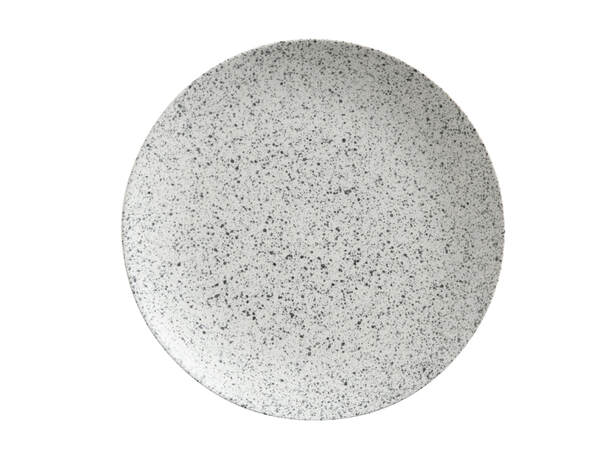
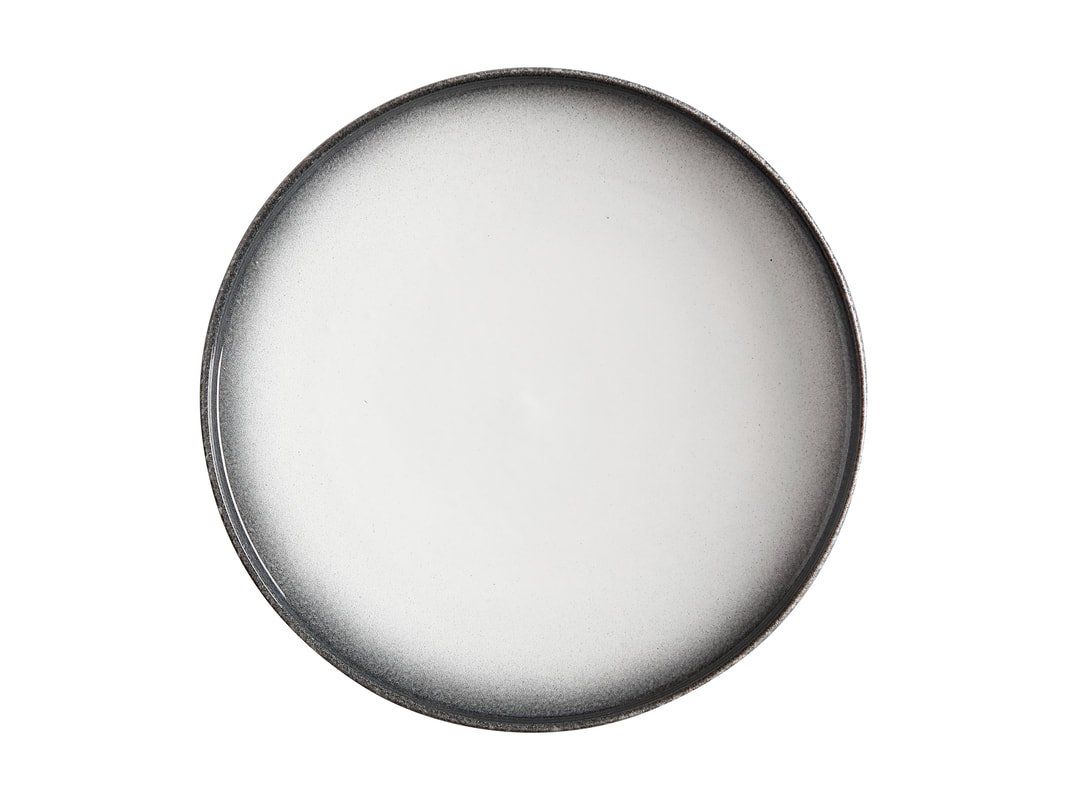
 Fall is the season of layers. Clothes, textiles throughout your décor and definitely more layers of blankets on the bed! Why not try it with your table setting as well? Love the monochromatic look? Let's add some depth! By simply layering pieces from our textured Caviar collection you'll have a contemporary, monochromatic table setting in an instant. The neutral tones of our Caviar collection make it easy to mix and match while the different glazes and finishes create an understated but stylish look. Start with a tablecloth or placemats in a similar tone, black or white will work well here as they add an extra layer to your setting without using extra dishware. Choose a base plate to build on, then contrast by mixing pieces from the Caviar collection with your existing White Basics. The switch between the tactile finish on the Caviar pieces works in contrast with the smooth porcelain of the White Basics pieces. Top with the newest addition to the Caviar range, Granite. The smoky charcoal borders and mottled exterior glaze will bring all the other elements together. Finish with matching charcoal napkin, polished stainless steel cutlery and flowers or foliage to complete the look. There you have it, a table ready for Insta-glory. FEATURED:
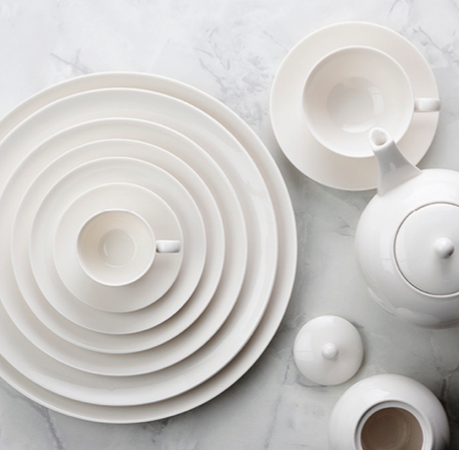
 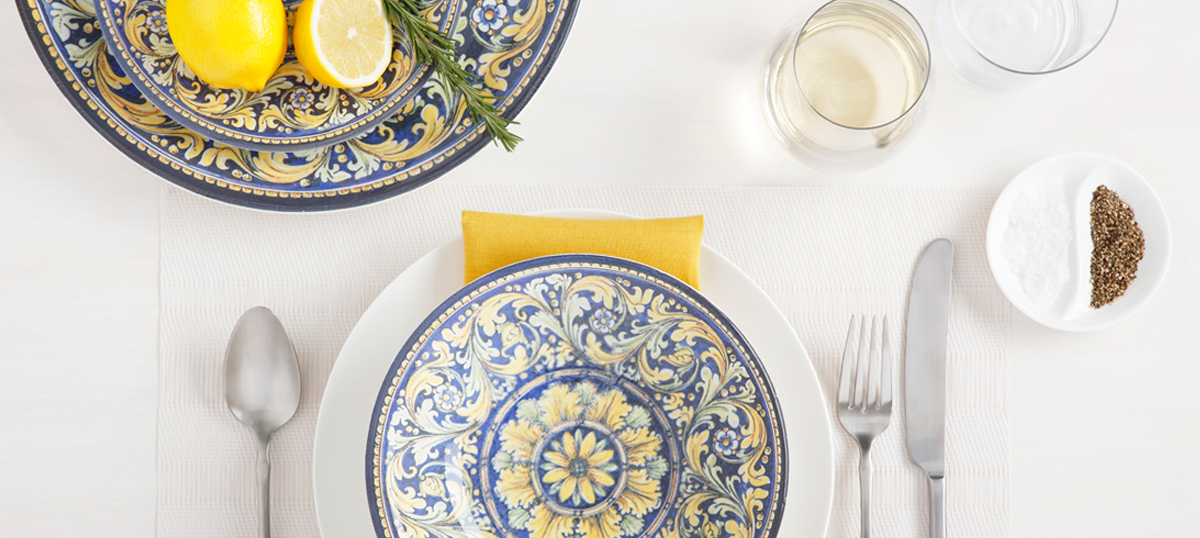 Ceramica Salerno by Maxwell & Williams is designed and produced in the south-east coastal region of Salerno in Naples, Italy. The range includes six stunning designs each with their own style and colour, based on maiolica ceramics; tin-glazed pottery from the Renaissance era. Included in the range is dinner and side plates, pasta bowls and a large round platter, perfect for plating up your favourite Italian dishes. See how easy it is to bring a touch of the Italian coastline to your summer table this entertaining season. Just add Prosecco! The Boboli range is the most classical of the designs, with a pattern centering around a bunch of lemons with strong Italian summer vibes. With the 26.5cm dinner plate can live on its own on the table to serve a more casual occasion. To soften the bright yellow in the plate, complete the look with a neutral placemat and you’re ready to go. How perfect would a fresh Lemon pasta be served on the Salerno range? Fresh Lemon Pasta Prep Time: 10 minutes Cook Time: 10 minutes Servings: 6-8 Calories: 268kcal Ingredients: -13.5 oz package of spaghetti -1/4 cup extra virgin olive oil -3 tablespoons fresh diced garlic -1/2 teaspoon pepper -3/4 cup whipping cream -1/2 cup fresh squeezed lemon juice -1 tablespoon finely grated lemon zest -1 cup parmesan cheese -reserved pasta water optional: -1/4 teaspoon red pepper flakes (to taste) -fresh parsley for garnish Instructions: 1) Start a large pot of salted water on the stove to boil. When it reaches a boil, add in the pasta and cook until al dente. 2) While the water is heating begin to prep the sauce. Start by adding the olive oil to a large deep frying pan and heat on low. Add the diced garlic, pepper and red pepper flaked (optional). Do not brown the garlic, that would make it bitter. Continue to cook on low for about 10 minutes. 3) Add in the lemon zest and the whipping cream to the oil and garlic pan. Gently combine the ingredients and blend the flavours together. As you stir the sauce will begin to thicken. 4) Once the pasta is cooked, turn off the sauce. and add in the lemon juice and half the parmesan cheese.. Stir gently until combined. 5) Slowly remove the pasta from the water (do not dump) and add directly to the sauce. Add up to 1 cup of the pasta water to the sauce mixture to smooth sauce. Toss the pasta really well to ensure the sauce is well distributed. 6) Plate pasta and sprinkle parmesan and parsley on top and ENJOY! 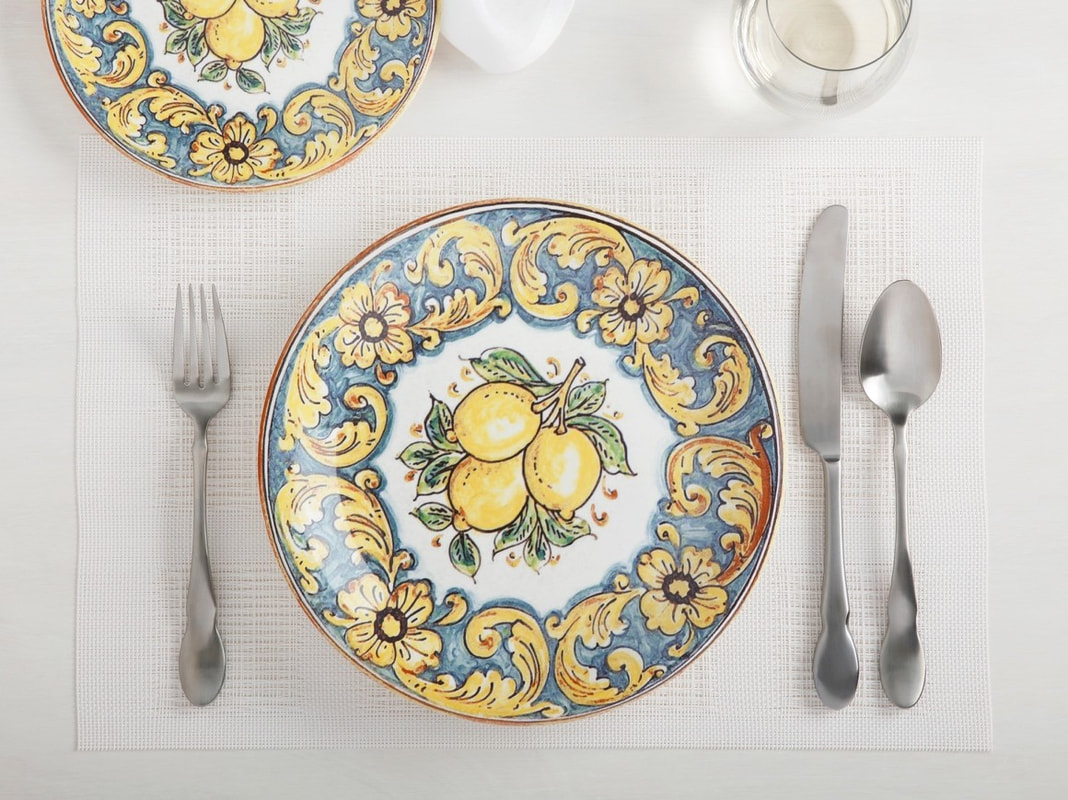 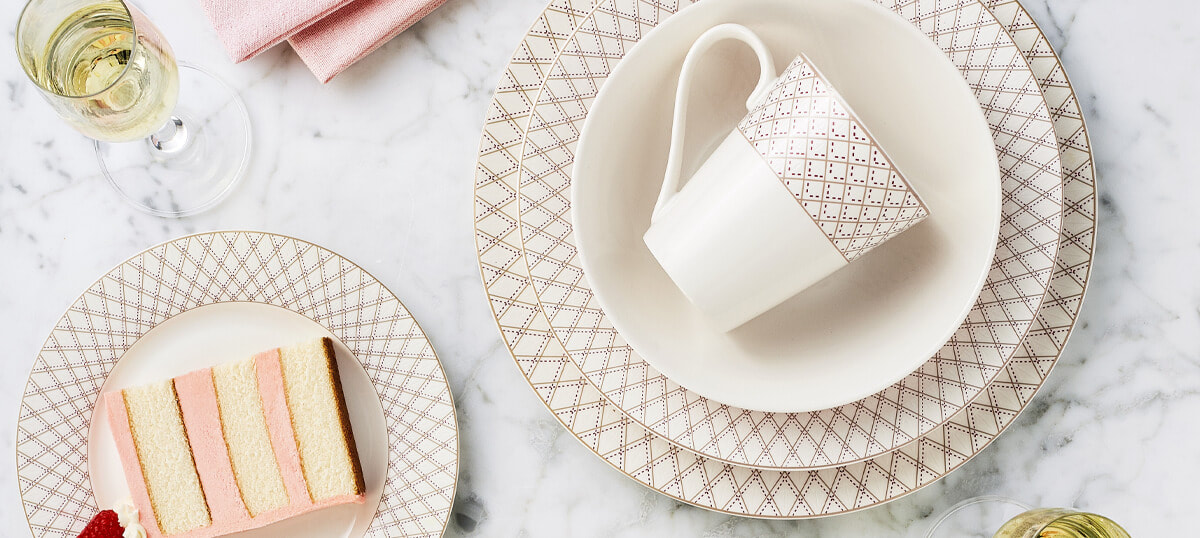 Date set, friends free, you have that new recipe you wanted to try and a vision of a get-together to remember.... what's next? Your elegantly thrown together tablescape of course! Read through our essential checklist for achieving a beautiful table to remember, long after the night's over. 1. Know the rules – and know when to break them Traditional rules are useful but think of them more as guidelines. Cutlery should always be set with knives on the right and forks on the left, but placement is a matter of personal style. A simple knife-and-fork setting can look elegant placed together on a napkin and set either to the right or left of the plate, or even arranged in the centre. For multiple courses, it’s still best to stick with tradition and set cutlery on either side of the plate, working from the outside in. 2. Stack plates for multiple courses Layering plates can really add scope to get creative on the table. A layered setting immediately adds a sense of occasion and lets you play with colours and patterns. Napery is essential to add a soft counterpoint to the plates and cutlery – use it between the layers in a tone similar to your plates or add some impact with a contrasting colour. 3. Let your food be the hero When setting your table, always consider the food as the most important element of the tablescape. Choose plates and bowls that will frame each dish and bring out the colours and textures of the meal. Practicality is also important – a wide-rimmed plate is best suited to a meal with some sauce or slide to it, while a coupe-style plate is better for meals with more defined portions, like roasted meats, fish and vegies. 4. Remember it’s not just about the table Think of your table as an extension of your personal style. Choose the design and palette of your dinnerware to complement your home and interior decor. If you’re a maximalist at heart, trust your instincts – bring it all to the table. Mixed patterns introduce statement servingware and use vases or decorative pieces from elsewhere in your home to add texture. If you’re into clean lines and crisp colours, try starting with timeless whites and build in the colours and accents that suit your style. A classic dinner set with an element of geometry or definition can elevate the simplest of meals. 5. For special occasions, use small details to set the mood It’s tempting to mark a special occasion by preparing something impressive and adventurous, but you don’t want to end up spending the whole night in the kitchen or – worse – bungling an untried recipe. The secret to effortless entertaining is to serve a trusted favourite that you’ve tried (at least once before!), with a few extra touches to make it shine. Try some side plates for fresh sourdough, accompanied with small butter dishes and butter knives. Set each place with glassware for instant sparkle and easy refills, ready for that chilled Champagne you’ve been waiting to pop. It’s also easy to extend the main event with a round of espressos or a platter of pre-prepared desserts. 6. Use florals to soften the tablescape Porcelain plates, twinkling glassware, steel cutlery and a solid tabletop in timber or marble can make for a lot of hard surfaces in one place. If you find your tablescape is getting too cold or imposing, flowers and foliage are a beautiful way to soften the look. Select something that suits your style and colour scheme, whether it’s an arrangement from your local florist or something you’ve cut fresh from the garden. And as always, bear in mind the eye-lines of everyone seated at the table – it’s no fun trying to have a conversation through a bouquet! 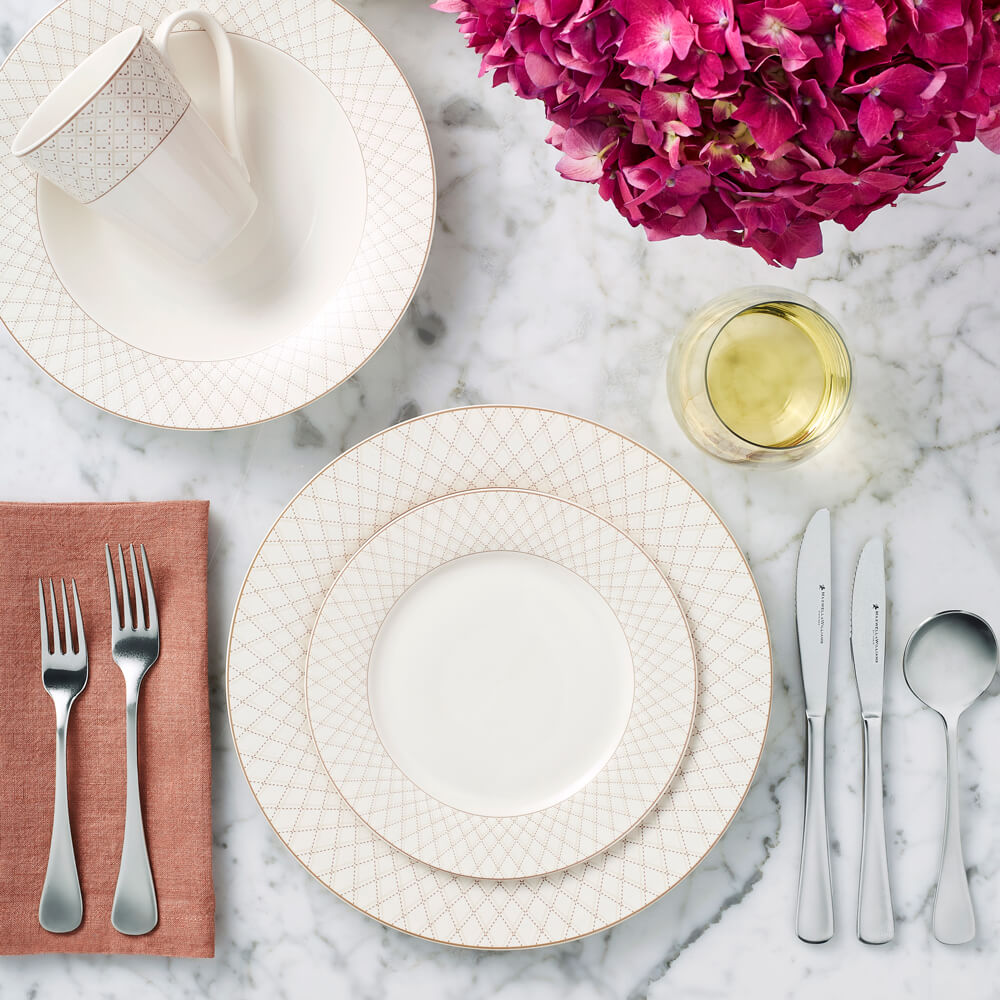 |
Looking for Inspiration?Full of inspired tablescapes, mouth watering recipes and so much more, we welcome you to share and explore Maxwell and Williams and how dishes can enhance your dining experience. Archives
November 2021
Categories |

 RSS Feed